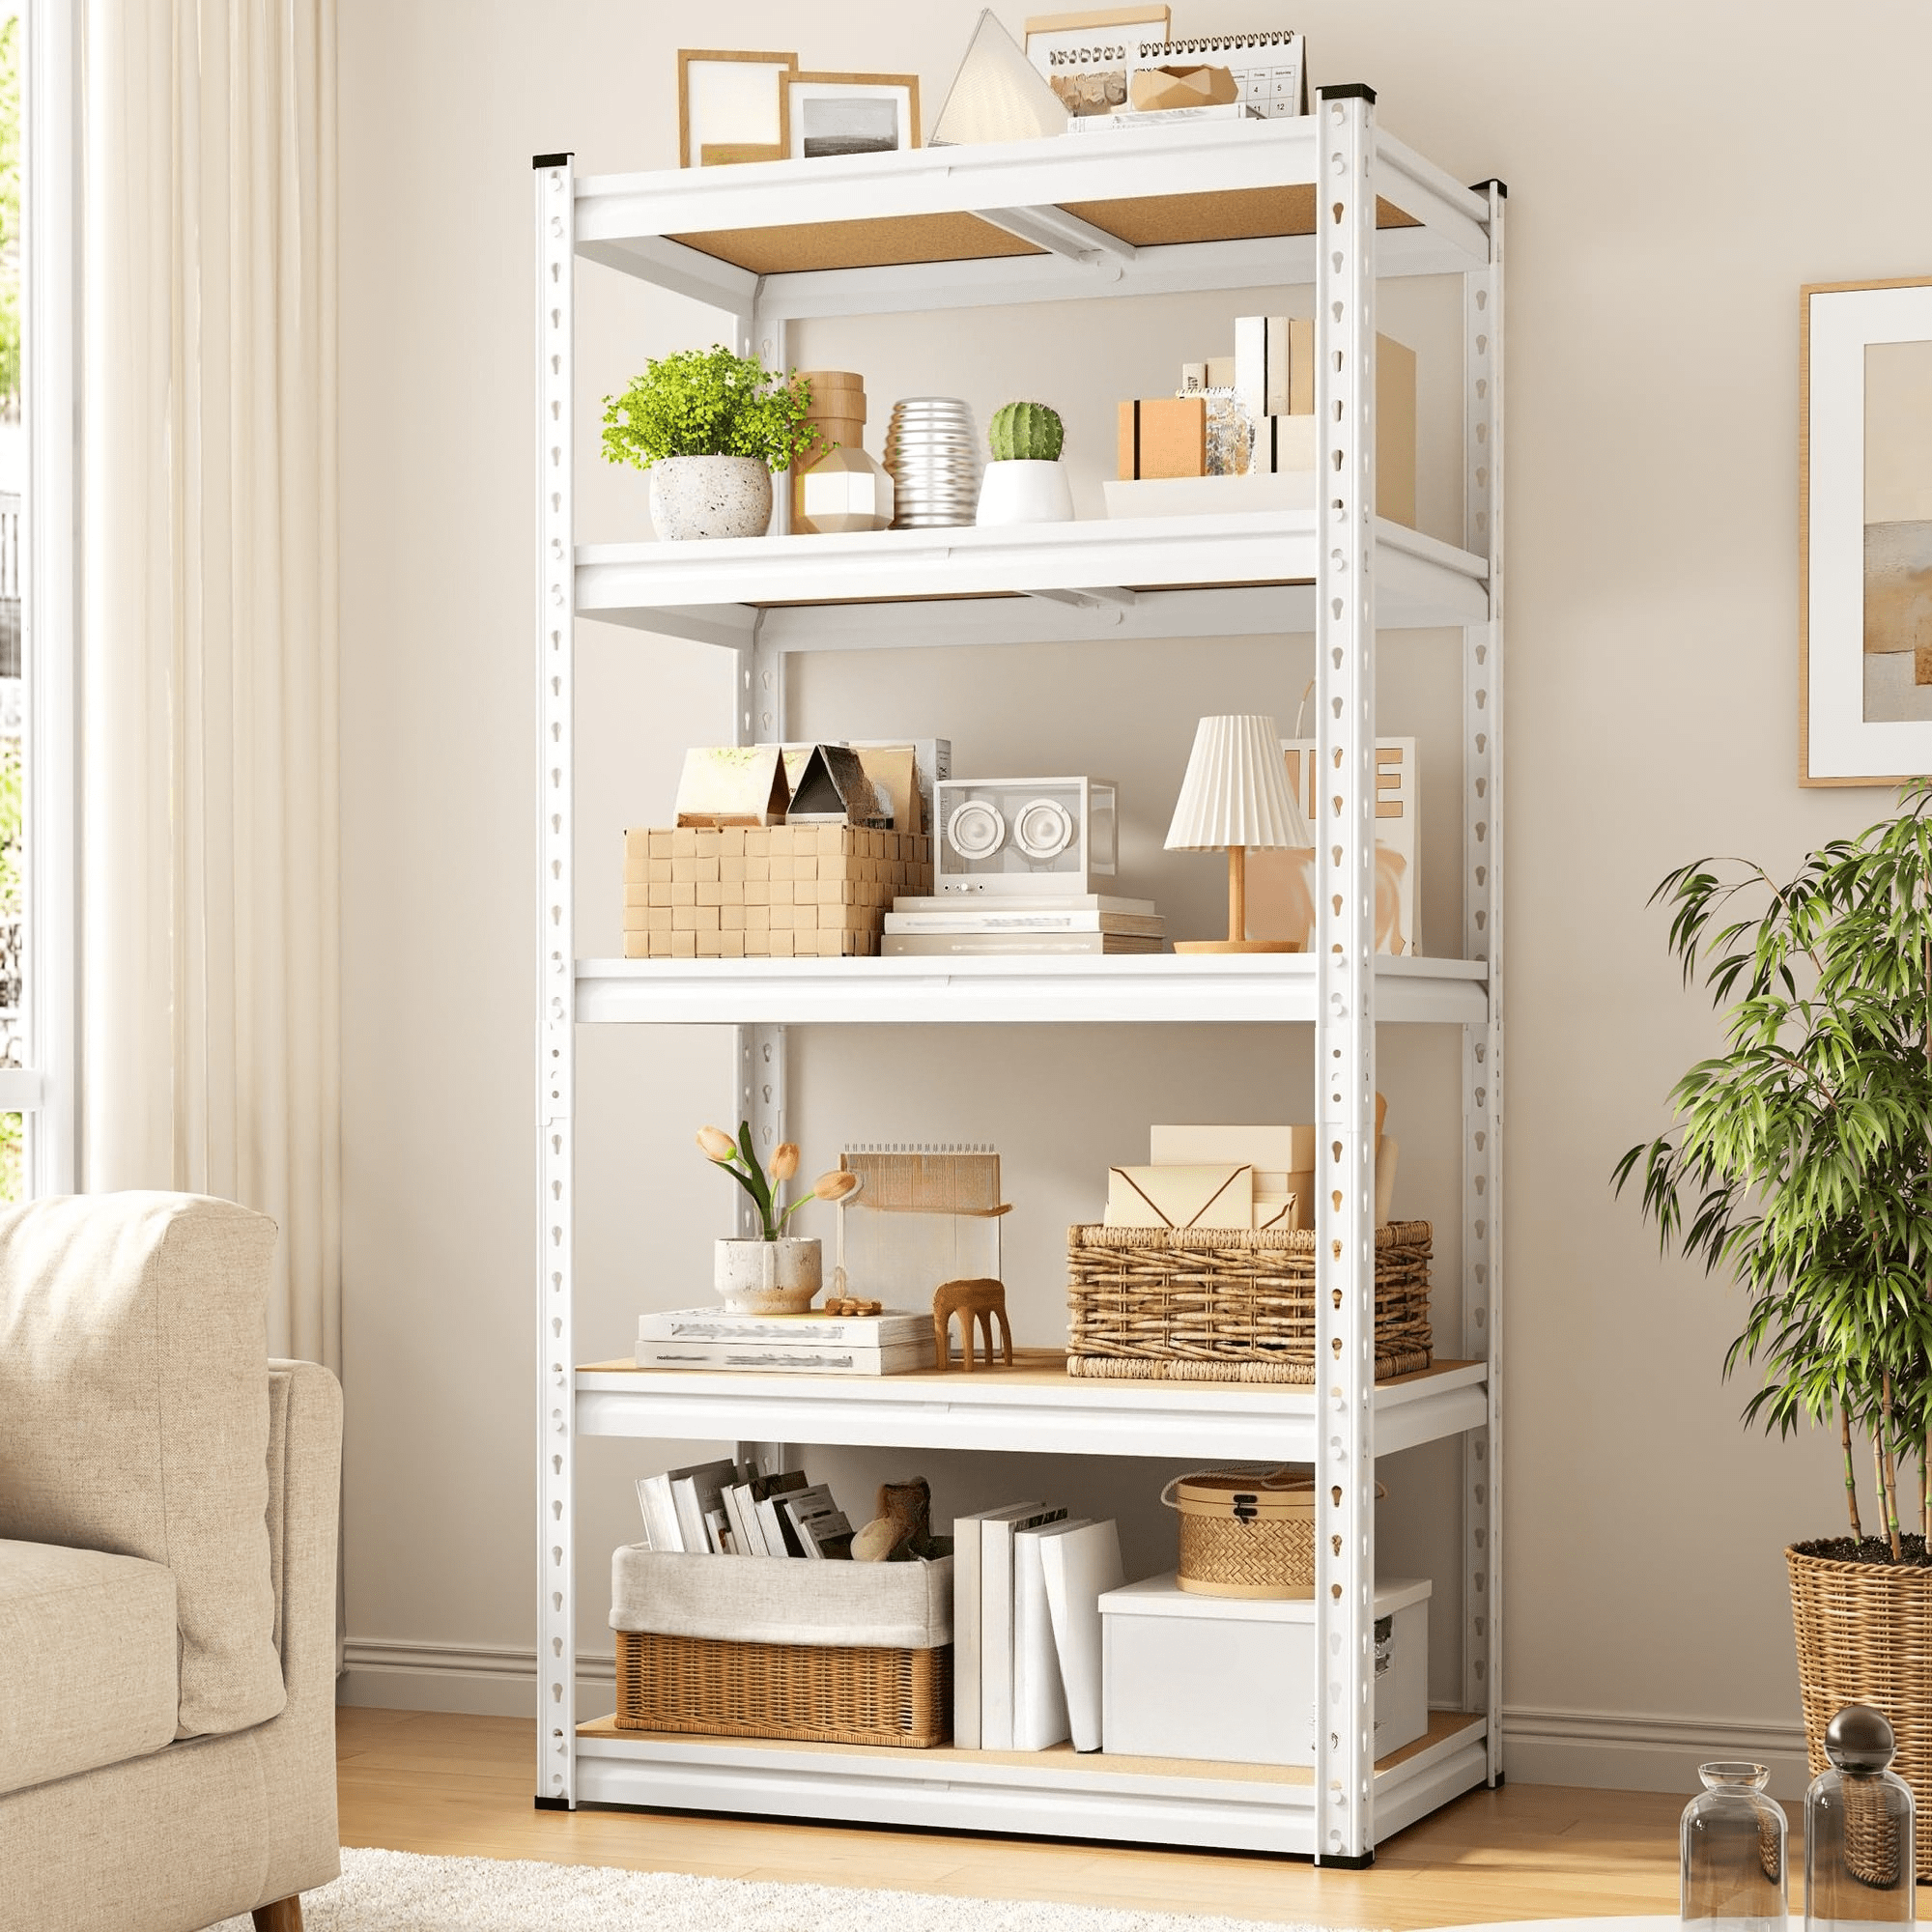
You can organize your entire pantry for under twenty dollars in less than an hour. Clear the shelves completely, throw out expired items, and group similar foods together. Use simple dollar store containers to keep everyday staples tidy and easy to find.
Start With A Empty Canvas
Take every single item out of your pantry and place it on your kitchen counter. Do not leave anything on the shelves, even the heavy items or big bags of flour. This gives you a clear view of your actual storage space and lets you see every food item you own.
Set a kitchen timer for ten minutes and check the dates on every box and jar. Toss anything past its expiration date or open packages that are stale. Wipe down all the empty shelves with a wet microfiber cloth and warm water to clear away loose flour, sugar, and crumbs before you put anything back.

Sort Your Food Into Clear Groups
Group your remaining food on the counter by how you cook and eat. Put all baking supplies in one spot, snacks in another, and canned goods in a separate pile. Keeping items together by category stops you from buying doubles at the grocery store later.
Create these simple categories on your counter to speed up the process:
- Daily snacks: Crackers, chips, nuts, and granola bars.
- Canned foods: Soup, vegetables, beans, and tomato sauce.
- Baking staples: Flour, sugar, baking powder, and spices.
- Dinner bases: Pasta, rice, oats, and dried beans.
Use Low Cost Storage Containers
You do not need expensive matching sets from high end stores to make a pantry look neat. Plastic bins from the dollar store or empty glass pasta sauce jars work just as well. Wash and dry old glass jars to store rice, dried beans, or white sugar for free.
Place wide plastic bins on the lower shelves for heavy items and small snacks. Keep clear containers at eye level so you can check your supply levels in one second. Use simple blue painter's tape and a dark marker to label each jar with the food name and the expiration date from the box.
Zone Your Shelves By Usage
Put your most used foods on the middle shelves between your waist and eye level. Place heavy items like extra cooking oil or gallon jugs of water on the floor or the very bottom shelf. Store light items like extra paper towels or rare baking pans on the top shelf.
Follow this exact shelf layout to keep your new setup neat for months:
- Top shelf: Light backstock, paper goods, and seasonal items.
- Eye level shelf: Breakfast items, daily snacks, and cereal.
- Waist level shelf: Dinner ingredients, pasta, and canned items.
- Bottom shelf: Heavy appliances, potatoes, onions, and bulk drinks.
Keep The System Working Daily
Spend two minutes every Friday before you write your grocery list to check your shelves. Move older items to the front of the shelf and put new groceries behind them. This simple habit keeps food from going bad in the back corners of your pantry.
Never put open bags of chips or snacks directly back on the shelf without a clip. Use basic wooden clothespins to seal open bags tightly to stop spills and keep food fresh. A simple two minute check keeps your pantry clean and saves you money on food every week.